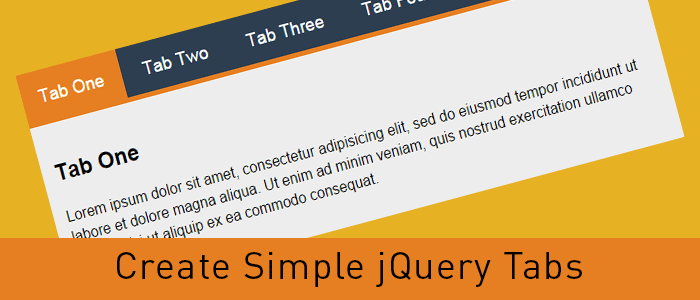
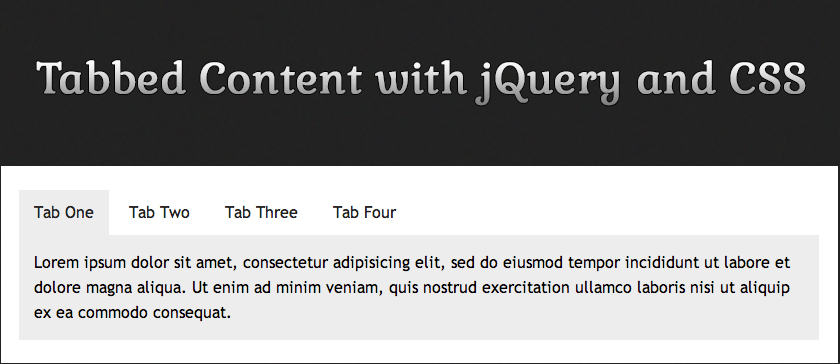
An easy way to create Tabbed Content with jQuery & CSS

Tabbed content is a great way to handle a lot of information on a page without loosing usability and it provides a great user experience as well. Here’s a real easy way to create tabbed content with jQuery and CSS.
Let’s create tabbed content with jQuery and CSS

Step 1: Include the jQuery library
<script src=//ajax.googleapis.com/ajax/libs/jquery/2.0.0/jquery.min.js></script>
I’ve used the latest version of the Google-hosted jQuery library, however, you can always download the script and host it on your server.
Step 2: Write some HTML code
<div >
    <ul >
      <li data-tab="tab-1">Tab One</li>
      <li data-tab="tab-2">Tab Two</li>
      <li data-tab="tab-3">Tab Three</li>
      <li data-tab="tab-4">Tab Four</li>
    </ul>
    <div id="tab-1" >
      Lorem ipsum dolor sit amet, consectetur adipisicing elit, sed do eiusmod tempor incididunt ut labore et dolore magna aliqua. Ut enim ad minim veniam, quis nostrud exercitation ullamco laboris nisi ut aliquip ex ea commodo consequat.
    </div>
    <div id="tab-2" >
      Duis aute irure dolor in reprehenderit in voluptate velit esse cillum dolore eu fugiat nulla pariatur. Excepteur sint occaecat cupidatat non proident, sunt in culpa qui officia deserunt mollit anim id est laborum.
    </div>
    <div id="tab-3" >
      Ut enim ad minim veniam, quis nostrud exercitation ullamco laboris nisi ut aliquip ex ea commodo consequat. Duis aute irure dolor in reprehenderit in voluptate velit esse cillum dolore eu fugiat nulla pariatur.
    </div>
    <div id="tab-4" >
      Sed do eiusmod tempor incididunt ut labore et dolore magna aliqua. Ut enim ad minim veniam, quis nostrud exercitation ullamco laboris nisi ut aliquip ex ea commodo consequat.
    </div>
</div><!-- container -->
In the above code I’ve created an unordered list which will act as tabs and I’ve used a custom attribute named data-tab and set its value to tab-1, tab-2 and so forth. We will use the data-tab attribute in our jQuery script to toggle the “current” class to hide and display our tabs.
Below the unordered list, there are a few DIV elements with ID attribute same as the data-tab attribute we used in the unordered list. This will do all the magic. Before adding the magic script, lets write some CSS to stylise our HTML Unordered list and content panels.
I’ve added “current” class to the first elements and we will play with the current class to stylise the active tabs and toggle the data content div element.
Step 3: Write some CSS to style the HTML
body{
	margin-top: 100px;
	font-family: 'Trebuchet MS', serif;
	line-height: 1.6
}
.container{
	width: 800px;
	margin: 0 auto;
}

ul.tabs{
	margin: 0px;
	padding: 0px;
	list-style: none;
}
ul.tabs li{
	background: none;
	color: #222;
	display: inline-block;
	padding: 10px 15px;
	cursor: pointer;
}

ul.tabs li.current{
	background: #ededed;
	color: #222;
}

.tab-content{
	display: none;
	background: #ededed;
	padding: 15px;
}

.tab-content.current{
	display: inherit;
}
I’ve used display:none for the .tab-content and display:inherit for the “current” tab. This will hide all DIV elements and show the tab with current class only. We will play with the current class to get our tabbed content work with a small magical jQuery code.
You can always change the CSS to have the look and feel similar to your website, use some image backgrounds to make it nice and smooth.
Step 4: Write the magic jQuery code
Now here’s the magic jQuery code which will actually create the tabbed content work.
$(document).ready(function(){
	$('ul.tabs li').click(function(){
		var tab_id = $(this).attr('data-tab');
		$('ul.tabs li').removeClass('current');
		$('.tab-content').removeClass('current');
		$(this).addClass('current');
		$("#"+tab_id).addClass('current');
	});
});
When the DOM is ready, if a user clicks on any list element of ul.tabs it will grab the data-tab attribute and assign the same to tab_id variable. Then, we will remove the current class from all list elements and our DIV.tab-content elements with the jQuery removeClass attribute. Then we will add the “current” class to the clicked list element and DIV tab with the grabbed data-tab ID.
That’s it, now we have working tabbed content with jQuery and CSS. Try it, share it and let me know of your thoughts in the comments. If you need to add any additional functionality, feel free to ask in the comments.


Get In Touch
Our consultants will respond back within 8 business hours or less.
 +1-315-215-0919
 +91-9136-747327
Leave a Reply